 If you’re looking to give your driveway a facelift or make it more functional, repaving is a great way to do it. Repaving a driveway may seem like a daunting task, but with the right tools and knowledge, it’s an achievable project. In this blog post, we’ll take you through the instructions on how to repave a driveway, including the use of hydraulic breakers, excavators, skip loading dumpers and compactors.
Step 1: Plan the Project
The first step in any repaving project is to plan it thoroughly. This means determining the size of your driveway, the amount of materials you’ll need, and the type of materials you’ll use. Make sure you have all the necessary permits and that you understand local regulations.
Remember at the design stage that you will have to create a gradient to allow for rainwater runoff.
The gradient for good drainage is typically 1:60 to 1:80, meaning that for every 60/80 units of length, the drainage end should be one unit lower. The choice of ratio depends on the material used; concrete and tarmac surfaces need steeper 1:60 blocks, while paving can get away with a shallower angle. The central area of the driveway should be higher than the edges to ensure rainwater runs off to the sides. If the driveway meets a house wall, the top surface must be at least 6 inches (15cm) below the damp-proof course. If the driveway has multiple angles, is curved, or features various junctions, start from one fixed point to calculate the gradients.
Step 2: Remove the Existing Driveway
Once you have a plan in place, the next step is to dig-up and remove the existing driveway. This can be done using a hydraulic breaker, which is a powerful tool used for breaking up concrete and other hard surfaces. You may prefer to opt for a concrete breaker attachment for a digger. This would certainly make sense if you are already hiring an excavator, as these are powerful and efficient as breaker tools and you can economise on hiring an extra machine.
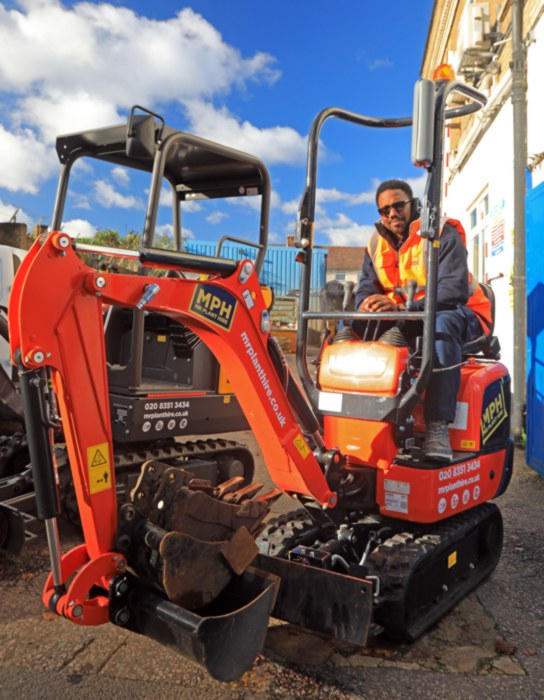
Step 3: Excavate the Area
Once the old driveway has been removed, the next step is to excavate the area. This involves using an excavator to dig up the ground and create a level surface for the new driveway. Make sure to mark the area to be excavated and remember your drainage gradient. Also, be careful not to damage any underground utilities. Hire an excavator from Mr Plant Hire and let us advise you on the most suitable machine for your project.
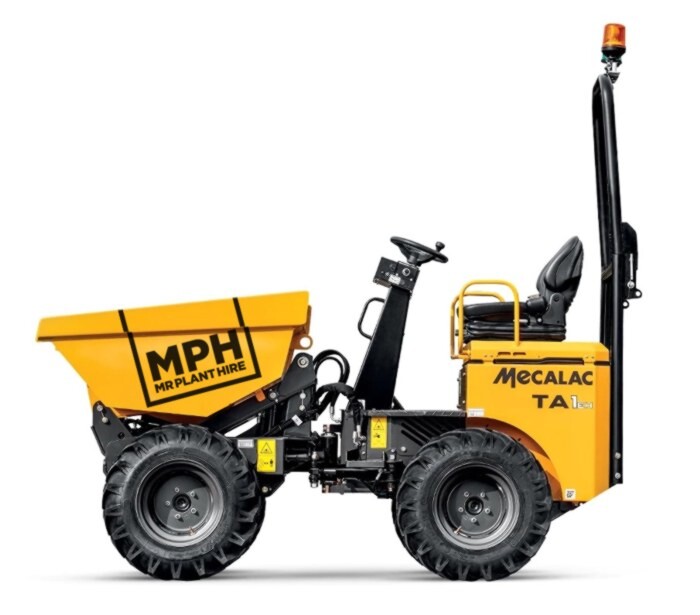
Step 4: Remove the Waste
As you excavate the area, you’ll accumulate waste in the form of soil and broken concrete. This waste can be removed using a skip loading dumper. Dumpers can be filled by your excavator and can be used to transport your waste materials to a pile or to a nearby skip. They are especially useful when your skip isn’t located near your work area.
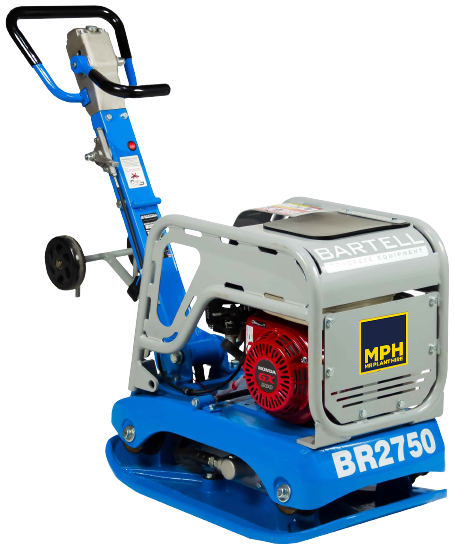
Step 5: Compact the Base Layer
After excavating the area, it's important to compact the base layer before installing the paving material. This can be done using a plate compactor, which is specifically designed for compacting granular materials like crushed stone or gravel. Run the plate compactor over the base layer in a series of overlapping passes until it is evenly compacted. This will ensure that the base layer is stable and that humidity can’t gather under your paving. This will prevent your paving cracking or sinking in the future. There are a number of different compactor options available, including compactor plate attachments for excavators. If you’d like to hire a compactor plate for your project, MPH can help you choose the best option for you.
Step 6: Install the Paving
With the base layer in place, it’s time to install the paving. This can be done using a variety of materials, including concrete, asphalt or paving stones. Follow the manufacturer’s instructions for the paving material you choose. Make sure to lay the paving evenly and level, and leave room for expansion joints to prevent cracking.
 Step 7: Compact the Paving
After the paving is installed, it’s important to compact it to ensure it is stable and durable. This can be done using a compactor, which is designed to compress and flatten surfaces. Make sure to compact the paving evenly and thoroughly, paying special attention to the edges.
Step 8: Finishing Touches
The final step in repaving a driveway is to add the finishing touches. This may include sealing the surface to protect it from weathering and staining, adding decorative elements like borders or patterns or installing drainage systems to prevent standing water.
Repaving a driveway is a big project, but with the right tools and knowledge, it’s an achievable one. By following the steps outlined in this blog post and hiring the necessary equipment from Mr Plant Hire Hire, you can transform your driveway into a beautiful and functional space.
Do you need to hire equipment to repave your driveway?
If you're interested in digger, dumper, or compactor plate hire, or you need any other tools or equipment for your DIY projects, speak to Mr Plant Hire today. Based in Enfield, MPH has an ample range of plant, tools and access equipment available for hire in North London, Watford, Barnet, Finchley and surrounding areas. Call us today on 020 8351 3434 (option 3) for more information.